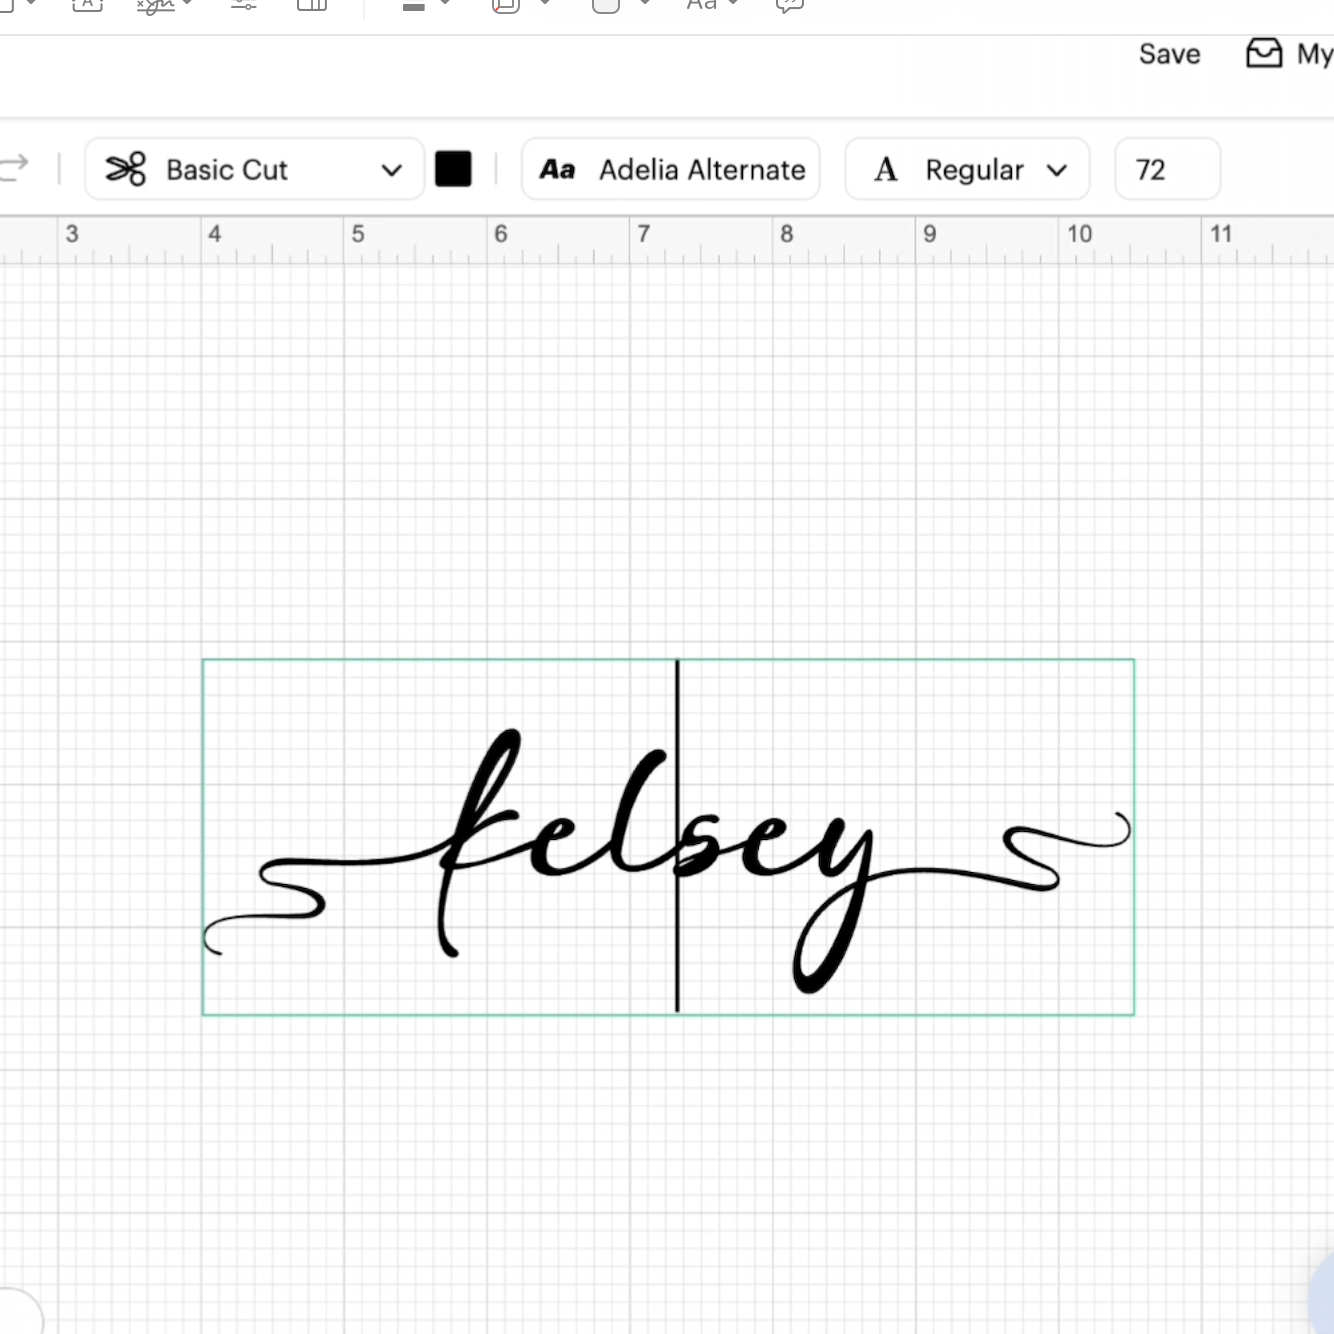
Draw Faceless Portraits in Procreate & Make SVGs
Custom Faceless Portraits have been sweeping the crafting scene.
Let’s go step by step on how to draw a faceless portrait on procreate for logos, crafts, and more! The secret is: faceless portraits aren’t that hard to create. You can use these for logos for tiktok – make coloring pages, other social media, and so much more.If you are looking for even more craft content don’t forget to subscribe to my weekly newsletter here and check out my free SVG library!
If you follow these six simple steps, you can create a custom portrait on Procreate with your iPad and Apple Pencil. To draw a custom faceless portrait, you’ll need to have Procreate on your iPad and I have also found this to be the easiest way to do so. This app is a steal compared to Adobe Illustrator and it gets the job done in terms of drawing SVGs. It’s a one time $9.99 fee in the Apple Store.

Do not stop here and think: well I am not an artist. Trust me I am not an artist either, we are just finding a creative way around this. This is all tracing! I use an actual photos of myself to create my faceless self-portraits. If you can outline, you can make a faceless portrait. Whats great about faceless art is that you don’t need to be a master artist, and you use this on just one or a number of people in a photo.

Step One: What brush do you need on Procreate?
This monoline brush is included with the download and you will see there are a lot of different styles to use. You can actually buy brushes from other creators but we are going to use what we have. You don’t need anything fancy!
I started by opening a new canvas – you can do screen size or make a square whatever you are comfortable with.

I used a monoline brush at about 25%, so it wasn’t super thin or thick. Play around with your stabilization to make it work for you – this will help you with jitters so you have smooth lines. You don’t want the lines to be too zig-zaggy or thin because when we convert to an SVG you want to see the outline between the colors. Playing around is a great way to master an art.
Step Two: Insert your photo

Any photo will work! You can insert a photo by starting a new canvas on Procreate than hitting the wrench and add. It will say insert photo and you can resize as you’d like. You then want to change the opacity (how transparent it is) so that it’s a little lighter. Maybe 70-80%. To find this bar click on layers, then the N and it will drop down to show you some different tools. You will just toggle the opacity down. Don’t worry to much about the original background of the photo, we will be mostly using the subject’s face to make our final project.

Step Three: Trace your photo
This is the fun part. Go to your color wheel and grab black and make a new layer on your picture. It is very important to remember each color is going to be on its own layer if you are converting to an SVG in the end. Plus, with adding layers, you are setting yourself up for unlimited revisions in the future. Don’t be afraid to mess up or try something different, we aren’t worried about facial expressions or body language, we want the “silhouette style” here.

When you are tracing, try to keep clean lines for the best results and connect them so each section you want a color to be placed doesn’t have any leaks or openings. Don’t trace any of the facial features – remember this is a faceless portrait! For my own I made my hair a little wavy and added a couple sections within just to give a little detail. This is a great time to play with the colors and textures you want for “details” of your faceless photography.

Background Images
I didn’t trace any of my background. Instead I made a circle in a thicker monoline (like 100%) and then placed it so I was centered. You can create any background you want, a lot of talented artists have been seen using this technique to make memorialize art with clouds and wings. I erased up to the circle if there were any outlying lines. Don’t worry about the circle being perfect on the outside because we will be able to fix that in inkscape! If you aren’t converting to an SVG then you can make these digital portraits as clean as possible within procreate.

Step Four: How to color in each section (quickly)
First, go back to your layers and pick the traced layer and make this your reference layer. You have now successfully made this a digital coloring page. So now comes the fun part. COLORING!

Set yourself up with a new layer. Pick the color that you want, I started with my face. You can also use the eye dropper by holding your finger down over the original picture (no need to change the layer). Once you have your color picked you can drag and drop that color into the section. Repeat this for all the sections you want in that same color. Once they are filled, make a new layer for the next color. Repeat this for all the colors until the image is completely filled!
Step Five: How to convert to an SVG File
This is can probably be done with an SVG converting website, however, I like to use Inkscape which is a free software. Learn how to make the layered SVG from Procreate with ease.

The only difference from the drawing is the black circle. You don’t want your Cricut to cut all those lines. So you can either:
(1) skip sending this PNG file to your computer or
(2) you can delete it within Inkscape
You will just want to grab a circle in Inkscape and make it bigger than all the pieces you just converted. This way your edges are nice and smooth and perfectly round.

Step Six: Cut & Assemble
When you upload your personalized portrait into Cricut Design Space, each color should be on a separate layer. You can resize and cut with whatever material you choose. In true fashion, I went with paper.

Once I had everything cut, I preassembled before gluing to see how it would look, then I used my Bearly Arts precision glue to place on to my background.

So, what can you use a faceless portrait for?
- Logo creation – digital and physical! Think tiktok – make money selling these to creators!
- Printable or coloring page
- Cricut Project – I made a paper version and a magnet of my son.
- Digital Downloads
- Wall Art
- Gift or gift tags for Christmas
- Stickers
- Customized next level cards
- Sublimation
- Print and Cut
- Mug Design
Really, it’s just an awesome easy skill to pick up and you can sell these as CUSTOM items – and once you get started you can make the digital file in under 30 minutes. You don’t need to be into portrait photography to master this technique, just a little creative vision for a significant impact.