

The weld function in Cricut Design Space has evolved into a powerful tool, offering endless possibilities for creative expression. With just a few clicks, you can seamlessly merge elements into a single cohesive shape or text, making it ideal for projects involving script fonts, cursive letters, and custom shapes.

Personally, I've found weld to be one of my most used tools in my Cricut crafting and probably one of the most important tools, whether I'm crafting paper designs, vinyl decals, or intricate cake toppers I am always popping over to this function. As Cricut Design Space has evolved over the years, so too have its welding capabilities, expanding beyond mere welding to include functions like unite, subtract, intersect, and exclude. So open up Cricut Design Space and turn on your Cricut machine, let's start welding.
What is the Cricut Weld Tool?
You can find a series of functions at the bottom of the layers panel in the right-hand side of Cricut Design Space (on desktop) which are: Slice, Combine (which is a drop menu), Attach, Flatten and Contour. All of these are amazing tools that can change separate shapes and text into incredible new designs. Lets run through what the other functions do first:

- Slice tool: You take two shapes or text (you can only do this with two layers right now) and place them on top of each other and this will cut the layers into each other. It cuts out the piece and then leaves the excess, I use this a lot and just delete what I am not using.
- Attach tool: this will take your designs and keep them together but they don’t become one shape. Meaning if you have two shapes overlapping and you hit attach, the two shapes will go from being different colors to the same color and Cricut will cut both pieces. This tool is great for vinyl crafting where you want your spacing to stay in a certain place.
- Flatten tool: this will take the design you are working on and all of the layers you select and make it into one image for print and cut.
- Contour tool: This tool is to fill in any holes in your designs which can be helpful when creating layers or working with intricate designs.
The Combine Feature
But now let’s jump into that dropdown menu (or drop up): Combine. This menu is relatively new and before you only had the weld option but now you can also unite, subtract, intersect, and exclude. We will go over these further down in this post.
Focusing on weld: weld is taking objects whether individual letters in text or shapes and connecting them together to form one cohesive cut. People often make the mistake of using attach but the problem is Cricut is going to make all the cut lines, weld removes all overlapping lines. Weld needs to be used in script fonts and cursive letters to make one complete cut there the letters are melted together. When creating these cuts, we are trying to avoid overlapping cut lines.
How to Use the Weld Feature:
Let’s work through a script font. When you use the text box to type out whatever you want for your design and change the font to a script, first thing you want to do is look at the letter spacing. Sometimes the spacing is perfect but sometimes its too close or even to far away where the letters aren’t even touching. You can use the Letter Spacing at the top of the screen to drag them closer or further apart. By reducing the spacing (or adding more) your kerned fonts are now ready to be welded.

You’ll notice before you press weld, you still see those overlapping letters, this is why the attach function is not a good option for a cursive font. Once we hit the weld function, you will see those overlapped lines disappear and now you have one new design of a single word.

You can use this same technique for with simple shapes for building designs as well. Grab circles and make a flower shape or grab single object like a rectangle and then add a triangle, hit weld and you have yourself an arrow. This opens up a lot of possibilities in terms of building your own unique designs within Cricut Design space. The weld result can truly elevate your designs.

Now, taking a single shape and adding it to another as mentioned before is a great way to make a new image and design. The is a useful tool is you do not have Cricut Access and the ability to utilize all over their shapes and system fonts. I also have create a page dedicated to free shape SVG files and have a list of where to find free font downloads so you can become as unlimitedly creative as you want!
The Most Common Issue: the Unweld Function
Here’s the truth, some bad news - weld is a one and done function - there is no unweld button in Cricut Design Space. The only way you can do this is to hit the undo button until you have gotten to where you welded and if you are deep in your design you will lose all the progress. I don’t see the unweld feature coming anytime soon to Design Space but the good news is they have added the new features to help with this situation.

- Unite: this is the unweld-able version of weld… I wish I had a better set of words for that. This will take your two separate images or text and make it into one solid image with no overlapping cut lines but also keeps the original two different shapes. This is a great way to be able to have the ability to unweld later on. On the side where you see all your different layers, you will see the new shapes and then a drop down underneath (like with the group tool or attach there is almost like a hidden layer set) with the two original shapes or text.
- Subtract: this is more similar to the slice feature except it leaves the bottom piece (make sure your top piece doesn’t over the entire bottom image) with the cut out of the top piece. Again, you can undo this like with unite and you will still see the two original pieces over on the side panel.
- Exclude: this is similar to subtract except it’s only going to remove the overlapping piece. So if something is overlapped like two circles (think Venn diagram) this will remove the middle where the pieces are intersecting.
- Intersect: well, just like above in Exclude, this will take the middle piece and remove the outer piece. So the exact opposite of exclude!
I would say I use weld most commonly for script text and to be honest, I rarely use the new functions (exclude, subtract etc). I think this is just a personal preference and I have just become use to using weld and slice prior to the update on my Design Space canvas so I never took the time to adjust! The best way to master using all of these features though is to test it out yourself and send actual cuts to your Cricut Maker or whichever machine you have.
Real Life Utilization of Weld
Let's look at making a cake topper for example. If we have a circle as the main single image like for a shaker and then a piece that is a rectangle on top for where we will put the name, we might want to make a solid back welded image of all the selected layers to build upon. This will set a solid foundation when layering your paper cuts.
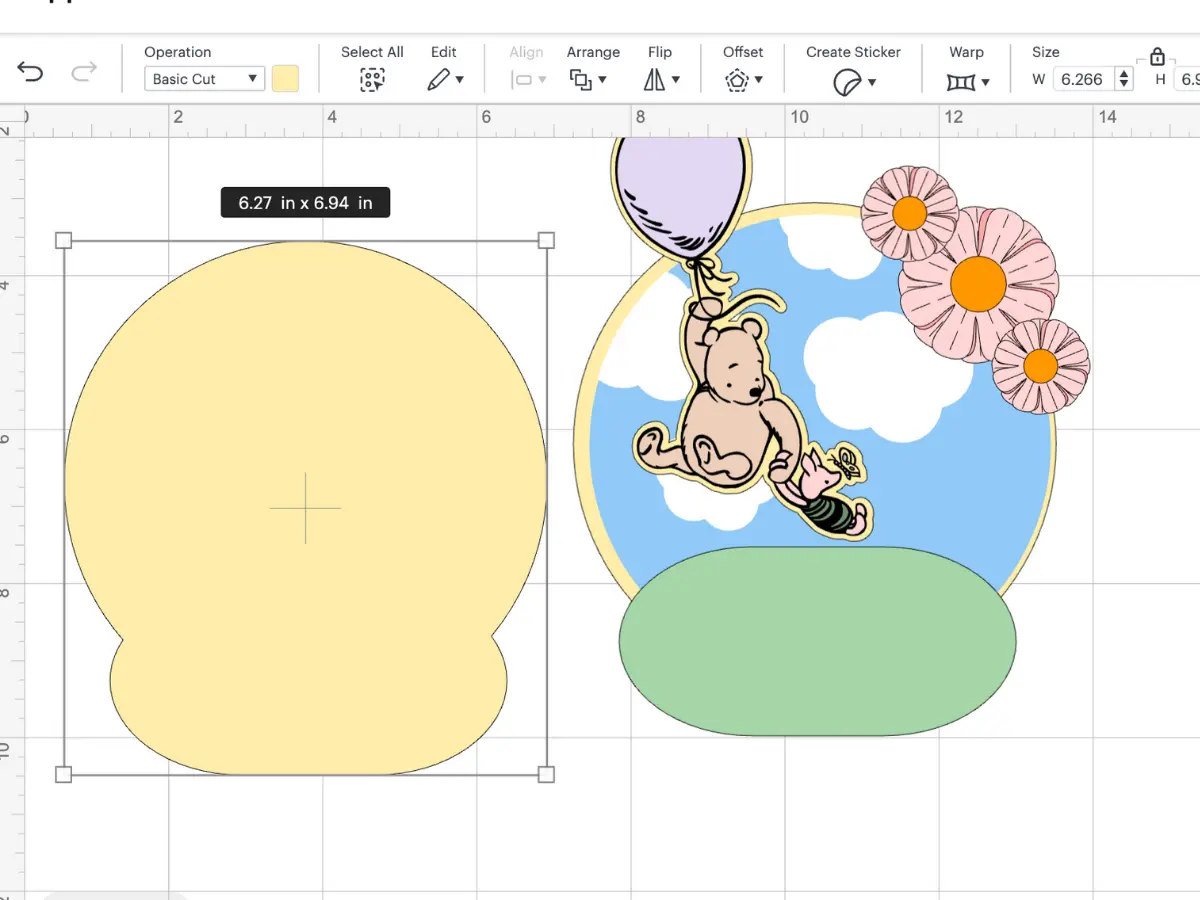
Next, you might want to look at the name for the topper, say you want to use a cursive text. Start by searching through your Cricut font choices or your downloaded fonts and then make sure you use the letter space tool to make sure everything is overlapping the way you want, remember where ever you see cross over - these are your welded areas. The press weld! Now you have a single layer text that can be easily cut.
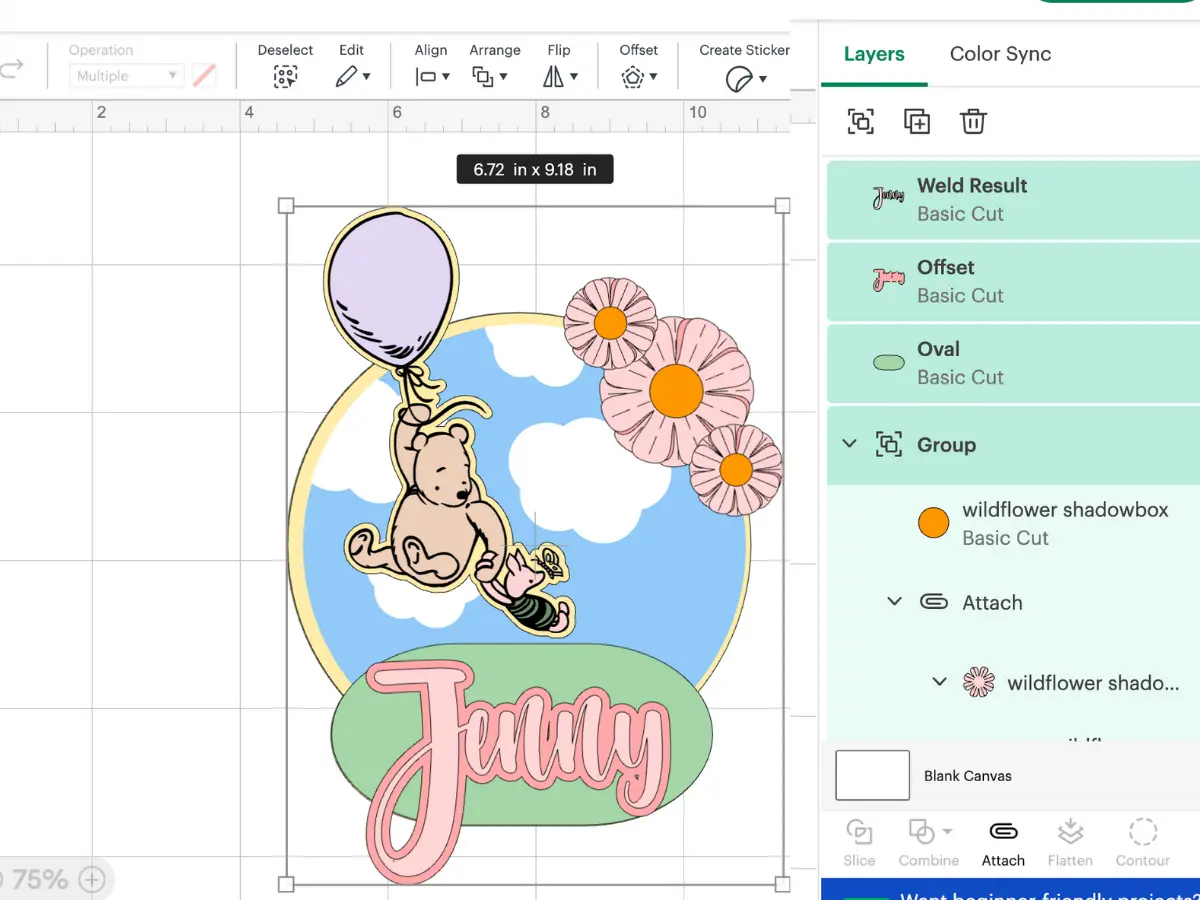
Another great tool to use is the offset and inset feature at the top of the canvas screen - I use this to create separate pieces and add height to my cake toppers.
Keyboard Shortcuts
A keyboard shortcuts are powerful tools that save you time in Cricut Design Space by not having to navigate back to the bottom of the screen over and over. Unfortunately the combine dropdown (dropup) menu does not have this yet - I can definitely see Cricut coming out with this in a future update. It's a simple add on of key combinations that will help you a little bit when designing.
You can find a bunch of great keyboard shortcuts for Cricut Design space from Angie Holden, her Cricut Design Space tutorial on this is fantastic.
In the end you can see there are different ways of creating your own layer in Cricut to create a new single piece or image. Whether you are using weld to create a new connected text or building a brand new shape, the Combine dropdown menu has advanced into an incredibly useful tool for Cricut crafters! I can't wait for you to take basic shapes and text to the next level!


.webp)