How to Wrap a Starbucks Cold Cup Wrap [with FREE Template]
Easily Customize a Starbucks Cold Cup with Vinyl & a Cutting Machine!
Do you want to add a little bit of flair to your Starbucks cup? With the rise of Cricut machines, personalized cups have become extremely popular. One option is to create your own Starbucks cold cup wrap with a Cricut machine. Fortunately, this process is relatively easy, especially for beginners who are still getting used to using their new cutting machine. In this guide, I’ll walk you through each step of the process and provide you with a free full wrap template for a 24-ounce cup so that you can get started right away!

Although we are getting into Fall, everyone loves a cute Starbucks cold cup wrap. You can customize your cold cups to whatever you want these days and today we are going to go through the steps to make your own custom Starbucks cold cup wrap!
Now, these aren’t going to be “full wraps” – that will be saved for the future but this is a great beginner’s guide to creating your own cold cup wraps in a simple way. So, if you’re new to vinyl crafting or you aren’t confident in your application skills this is a great place to start. It’s especially nice to learn and utilize your own designs in different way to create your cup!
Starbucks Cold Cup Wrap Template
The Free SVG Template I have for my cold cups is for a 24 ounce Starbucks cup with a slight overlap. For my projects, I used their 24 ounce color changing cups and they worked beautifully and cost only about $3 a piece. You can find my free SVG file for this here. If you are looking to make a smaller size cup or template – don’t worry! There is a website to plug in the height and diameter to make your own templates for FREE! Check out the tapered label generator to figure out the size you need to create your own cold cup wrap.
Now, this template is blank – I use this as a guide for my wrap which will make more sense in a minute. Once you have the cold cup wrap template downloaded, we can upload it into Cricut design space to start creating our design.
Cricut Design Space Tutorial
Upload the Wrap Template
This tutorial is SIMPLE! I promise, don’t be overwhelmed. It’s really about sizing – from there we are just moving our files around to create the design. To start, make sure your cold cup template is sized correctly within design space canvas. The width should be 11.5 and the height should be 6.663 inches. This is going to be your guide to creating your 24 ounce Starbucks cup wrap.

Upload Your SVGs for Decor
Next, upload the image or images you want to place on your cold up. I am going to use my halloween bucks for this part. You can find these under my free community SVG files. (Design Numbers: #055, #056, #057) Subscribe to my newsletter below to receive the password, updates, and giveaways.
When you upload these you will see that they are three buckets each with three pieces. Now, this part will depend on what image or SVG you use. You will have to attach parts together to make it easier for creating or even weld or slice. Start by ungrouping your SVG files if you plan on doing any changes to them. When items are grouped, Cricut design space doesn’t like to work within them so slicing, attaching, and welding doesn’t work the way it is supposed to.

Adjust Size, Colors, and Placement
I went through each bucket and attached the lip/lid looking piece to the bucket face and handle so that they were all one piece and the black backing. This way I only had two layers of vinyl to weed. If you want to, you can leave them three different colors.

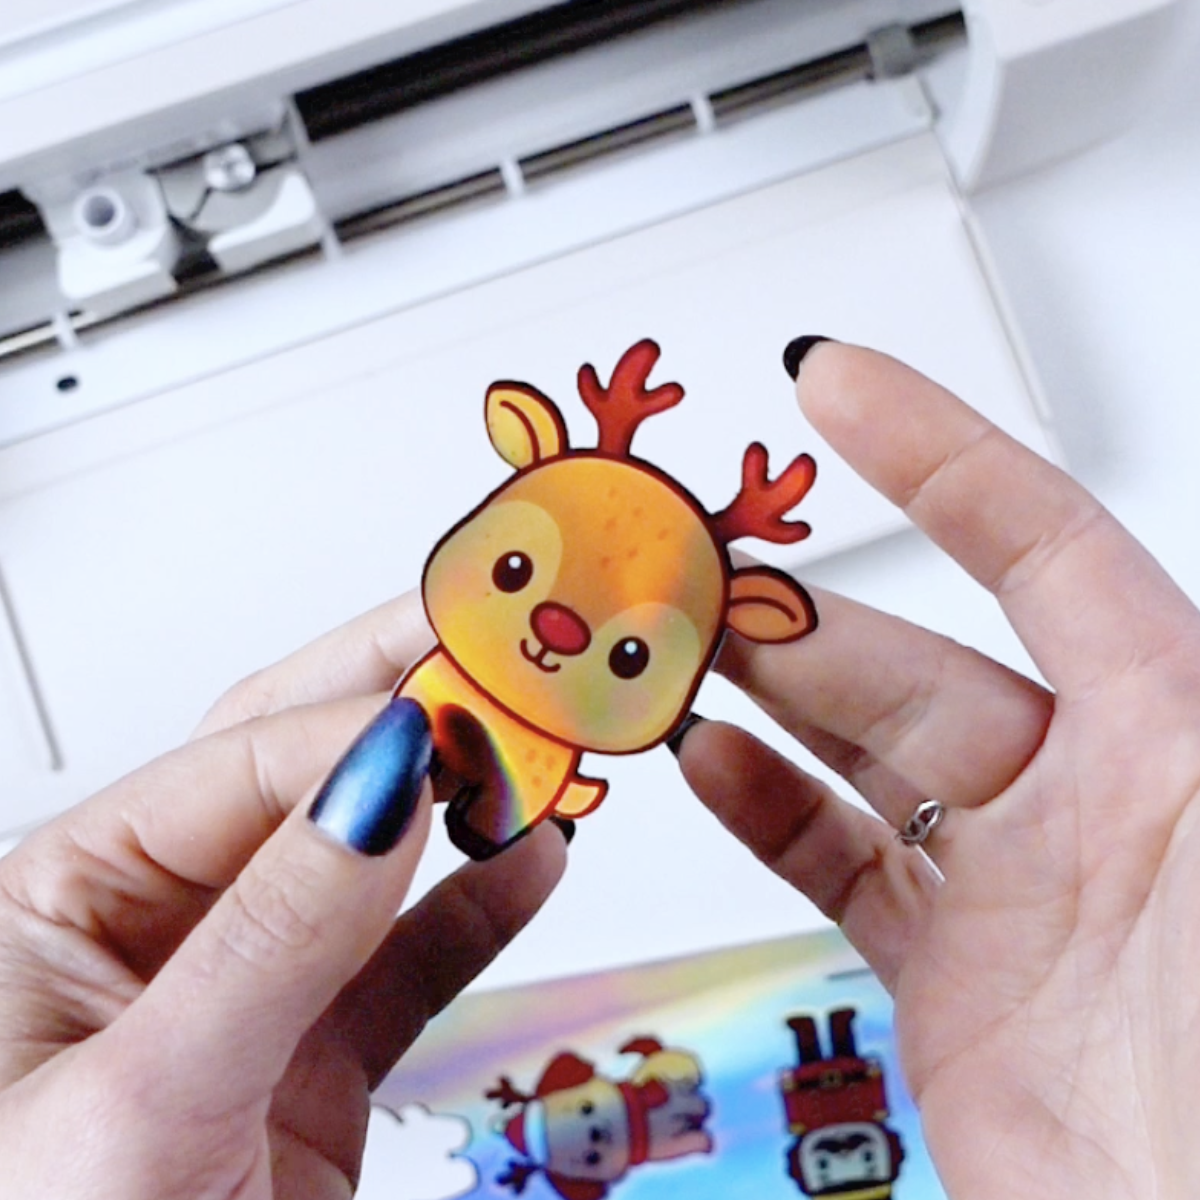
Once I had them attached, I started to resize. I wanted them all to stay the same size respectively so I grabbed all of them and sized them down. I made it so that each one was a little over 1.5 inches. Keep in mind when you are sizing your image – how is the weeding going to be? Are the lines really thing? Look at this Christmas Starbucks Cold Cup wrap I made a few weeks ago.

The lines are very thin – the weeding wasn’t horrible but if I made it any smaller, the lines may have just broken when I was weeding. Sizing matters when it comes to certain images. If you think your image may not cut start by just cutting out one and see how it does before cutting out 12 of them!

Once I had my Halloween buckets resized, I started to just place them around my cold cup SVG template. This way I knew all twelve of my buckets would fit without too much empty space.

From here, I saw some extra space so I grabbed the buckets and resized them again to about 1.6 inches high each.

I didn’t want to add in any other images so I knew I was ready to go. I’m concerned about these buckets being exactly placed where they are on design space. I was using this as a guide so I am not welding or attaching them in this order. I am going to send it over to my machine, and as you can see, the buckets go back to minimize the space on my vinyl.

Cutting the Vinyl Decals
Note: When I cut out my vinyl pieces, I changed my blade right before and used the premium vinyl setting – my blade being so new cut through the backing of some of my vinyl. Not ideal but I did make it work! So just be aware of your settings and the sharpness of your blade!!
I also suggest using permanent vinyl for these – I am using a combo of Oracle and Cricut brand vinyl for my Halloween cup and for my Christmas cups I used Teckwrap vinyl.
Assembling the Starbucks Cold Cup Wrap
Weed Your Vinyl
Once your vinyl is all cut out – first thing we want to do is weed! I started with my weeding pen but I quickly moved to my tweezers. The tweezers are so much easier to work with in my opinion. Take your time with the weeding – you don’t want to miss any little pieces.

Layer Your Vinyl
Once I had everything weeded – I did my layering. To start I thought I would be able to do all three at once but I decided since the vinyl had cut through to do each bucket one by one. It went by quickly and I took my time to line up the bucket faces to the black backing.
Apply Your Vinyl Decals
After they were layered I cut each bucket into its own piece. I did this so that when I was layered and applying transfer tape, I wasn’t accidentally sticking to the bucket next to it. Then, I started my transfer to my cold cup. I worked color by color to apply these to the cups. If you loved the pattern you created on design space you can always refer back to it when placing your images. I did not! I grabbed the image and placed it on, trying to fill in blank space and keep it random.

The reason I don’t like to attach my images together to create what they call a “full” wrap is because I don’t want to waste the vinyl with all the spacing. Since this Halloween bucket cup had images spaced all over, I would have used half a sheet of 12×12 vinyl and the ease of placing these worked for me and saved me vinyl and in turn money! This also makes it easier for me to create a design without the worry of applying it in one shot. I have more control.

There are so many designs you can create for a DIY Starbucks Cold Cup Wrap, you can make one for every season! Check back to see what other cold cup wrap designs I come up with!