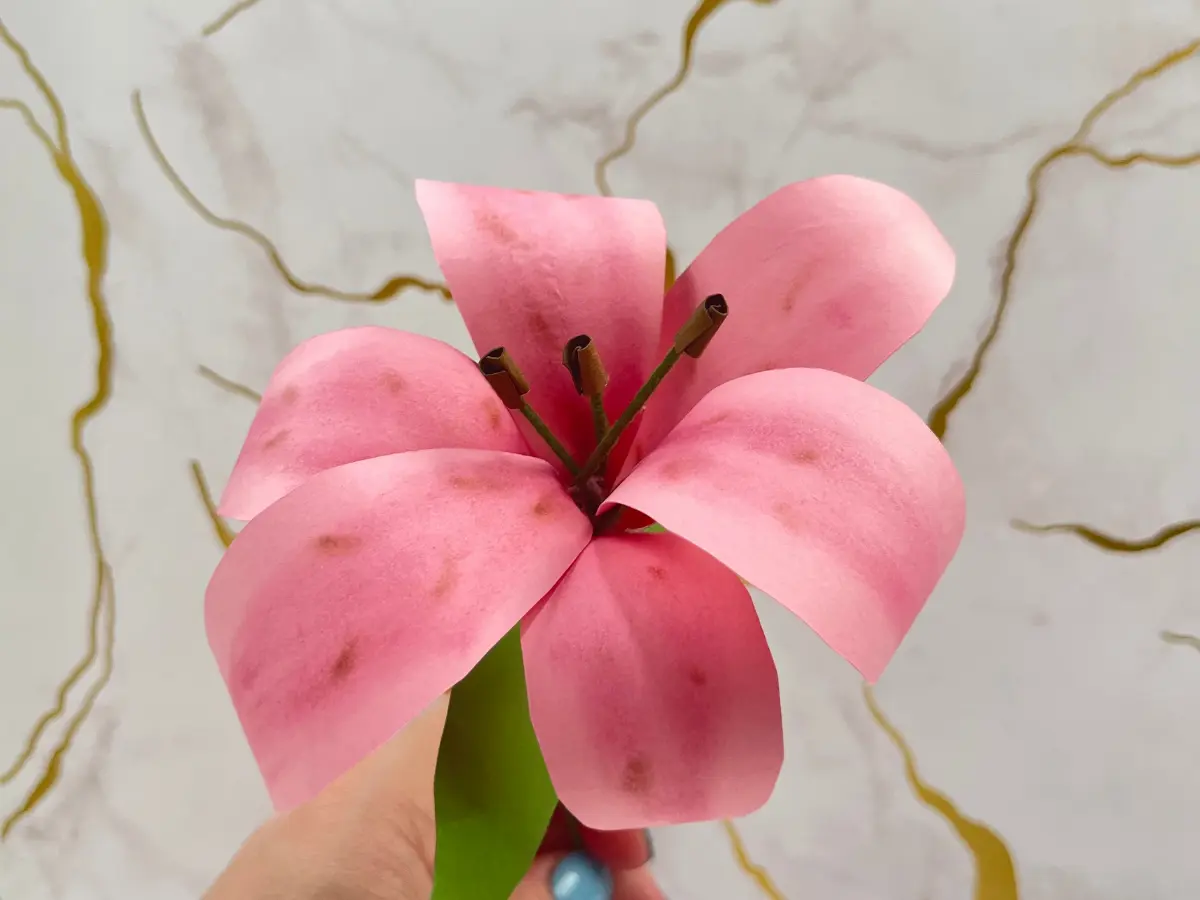
Paper flowers are such a fun craft project, so for Easter, I had to craft a paper lily.

I have been so big on paper flower crafts since I made my first rose template and each time I make a new paper flower tutorial I learn something and grow. My goal is to be a paper flower master sometime in the future but for now, I am so happy with my progress. I still have one more paper flower coming out this month so stay tuned for that but right now, I am focused on the Easter lilies. You can use this Easter lily template to create bouquets, home decor, wreaths, or even on your Easter basket! It's quick to put together and will add an everlasting touch of beauty to your home this season.
I have seen so many paper lilies that are origami projects but this is a little different and so much fun. So grab some cardstock paper and let's get cutting and assembling!
Mobile users turn your phone or watch the YouTube video tutorial here.
Materials and Tools Needed
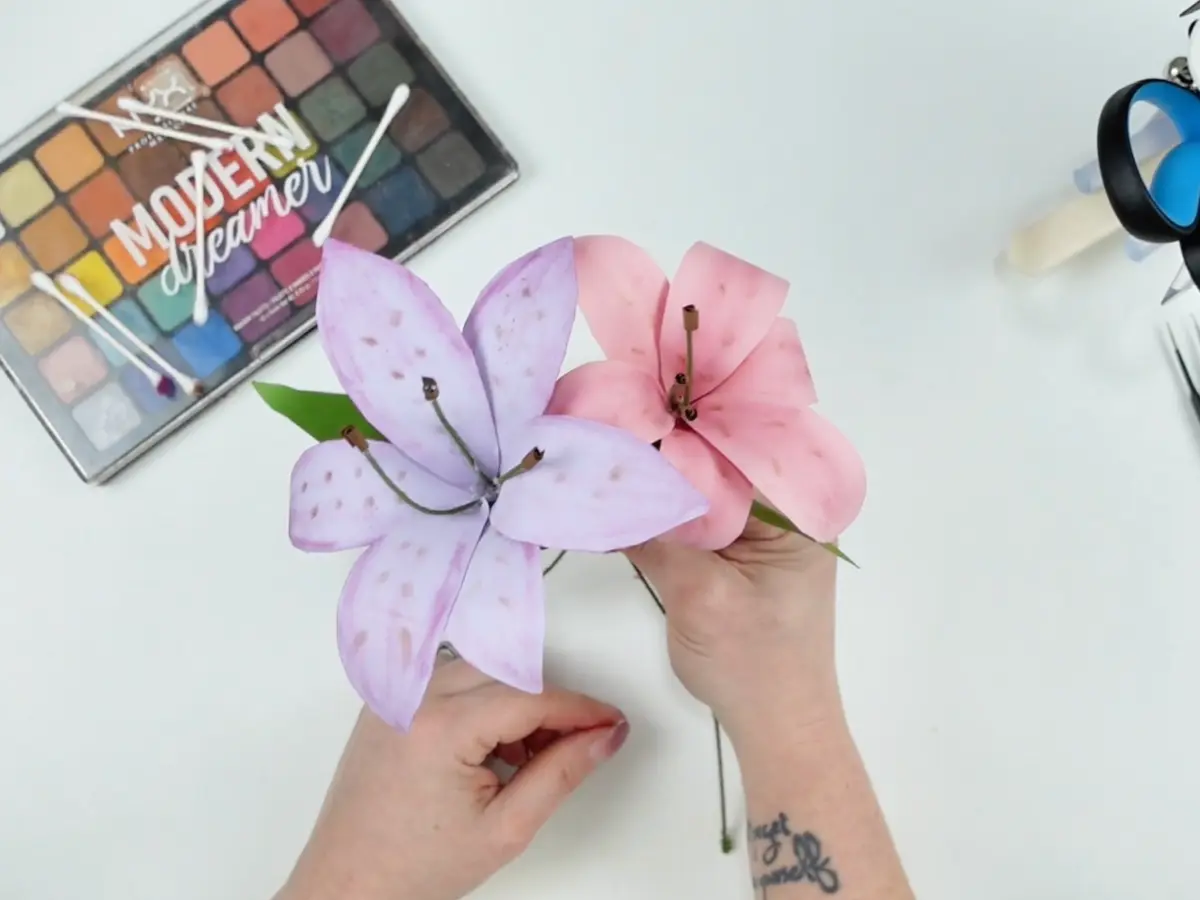
- Cardstock Paper - I like to stick with a 65 pound paper for most of my paper flowers and I don't love to use textured paper for this craft. I used a light purple and pastel pink but you can opt for whatever color you love! A lot of crafters lean on making a crepe paper flower instead of a cardstock paper, so please use the lily template to your desire!
- Hot Glue and Gun - I find using hot glue over craft glue for my paper flowers tends to be easier but every crafter is different! I just feel like hot glue dries quicker.
- A bone tool or a popsicle stick or even your fingers, this is just for curling the petals. You truly don't need any special tools.
- Floral wire - for this project, I used an 18 gauge floral wire and that is ideal for the SVG file however, you can always adjust the hole in the file if your wire is bigger.
- Optional: Eye shadow, inks, paint, markers - anything you want to use to make details on your paper lily flowers.
- Optional: I did not use any but you can opt to use floral tape as well to wrap the top of your lily where the stem meets the flower.
Download the Free SVG File
You can find the free Easter Lily Flower Template and so many more free paper flower SVG files under the community vault. You can also check out my YouTube channel for step by step instructions on how to assemble your paper flowers. To learn how to download the free template, please check out this guide for desktop (Chrome) and this guide for iPad/iPhone/Safari. To gain access you will need the password to the vault which you can get by signing up for my newsletter below.
If you are interested in getting a PDF version of the template to print out on printer paper and use as a stencil of sorts to cut by hand with a pair of scissors - please send me an email below in the contact box! I want to open my crafts up to everyone, not just those with cutting machines.
Setting Up the SVG in Your Design Space
Cricut Design Space
Once you upload the SVG the only thing to do is size how you see fit, resize the whole file, not just individual pieces. I made mine so that the larger petal set was about 4 inches tall. This makes for a decent sized paper lily.

You can change any colors and send to your machine, I tend to cut everything out using the medium cardstock setting.
Silhouette Studio
Again, you will upload the SVG file and size how you see fit. Make sure to size the whole file as mentioned before. The way I have been setting up my cuts is my color, I pull everything on that is the same color on the mat, leave the rest off, arrange it, and send. Then once I am ready for the next color I pull off the current color, add the new set and cut.

Paper Lilies: Step by Step Assembly
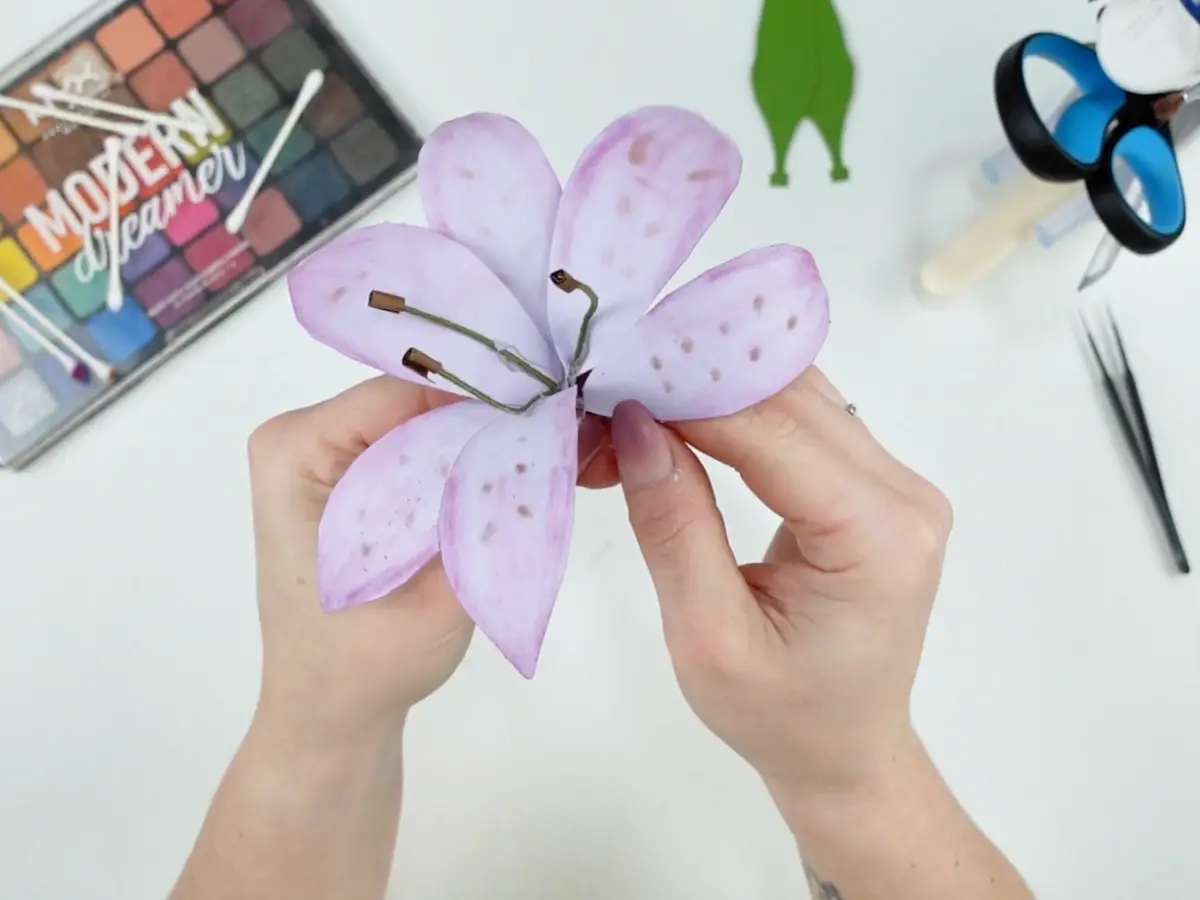
Step 1: Color your petals with either your eye shadow, alcohol inks, or paint. You can also skip this step if you just want a plain colored flower.

I used eye shadow and a q-tip to create my shading on my petals. Looking back I wish I made the brown spots a little smaller with a colored pencil or a marker but that's why I mentioned I learn with each flower I make.
Step 2: Curl your petals, they all should curve in the same direction. Make the curve strong but not bent in half. You can use a bone tool for this to create the curve or your fingers just be gentle to not tear the paper.
Step 3: Cut two smaller pieces of floral wire but keep the last one long, this will be your major stem. For my smaller stems I made them about 2-3 inches.

Curl the small rectangles and hot glue these around the three pieces of the floral wire, one on each piece.

Step 4: Glue the large petals first, one to each of the pieces of floral wire. Keep the bottom flush to the two shorter pieces.

For the longer stem, put the petal onto the stem about the same distance down as the ones we cut.
Step 5: Glue these three large petal pieces together onto the longer stem. Keep them even on the bottom and equidistant.
Step 6: Slide one of the 3 pronged green pieces up your stem and glue one strip to one petal. This will secure it onto the step and keep the flower from flopping open.

Step 7: Add on the small petal pieces in between the large petals. Glue these flush onto the bottom of the flower.

Step 8: Add on the second green prong piece and glue the three strips onto the new smaller petals just like we did in Step 6.

Step 9: Curl your leaves and glue these onto your longer stem.

Now you have created a beautiful paper Easter lily. You can use this lily flower tutorial to also create a beautiful tiger lily and make amazing paper flower arrangements. What I love about making paper flowers, especially something as unique as a paper lily is that each one is going to be different than the last, they are all one of a kind creations just like real flowers.

Stay Crafty!
Looking for even more free Easter SVG files, check out these below from some of my crafty friends!

The Listed Home | Easter Banner SVG
Hello Creative Family | Easter Bunny Tray SVG
The Girl Creative | Happy Easter SVG
Like Love Do | Floral Easter Egg Layered SVG
Little Miss Eden Rose | Easter Time SVG
Color Me Crafty | Free Bunnicorn Easter SVG
The Denver Housewife | Hip Hop Bunny
100 Directions | Easter Bunny Gift Tags
The Quiet Grove | You are my Favorite Peeps
Kara Creates | Don't Worry Be Hoppy SVG
Kiy's Craftroom | He is Risen SVG
Artsy-Fartsy Mama | Egg Hunt Squad/Supervisor SVG
Simple Made Pretty | Easter Hip Hop Bunny SVG
Extraordinary Chaos | Layered Candy Easter Chick SVG
Sunshine and Munchkins | Easter Egg Hunt SVG
Tried & True Creative | Egg Hunt Champion SVG


