Skip to content
Home
About Dinosaur Mama
Expand
About
Privacy Policy
Commercial Use Info
Blog
Expand
All Posts
My Favorite Crafts
Cricut Design Space
Paper Flowers
Free SVG Categories
Expand
Community Vault Free SVG Files
All Free SVG Links
How to Download Files
Facebook
Instagram
Pinterest
YouTube
TikTok
Paper Crafts
Expand
Paper Flowers
Expand
Flowers of the Month
All Paper Flowers
3D SVG Files
Card Making
Cake Toppers
Cricut
Expand
Cricut Design Space
Craft Tools
Fonts
Vinyl Crafts
Heat Transfer Vinyl
Stickers
Holidays
Expand
Valentine’s Day Crafts
Easter Crafts
Halloween Crafts
Christmas Crafts
More Crafts
Expand
Silhouette
Laser Crafting
General Crafting
Product Reviews
Craft Room Organization
Dollar Tree Crafts
Upcycle
Shop My Favs
Dinosaur Mama
Toggle Menu
Home
/
Cricut
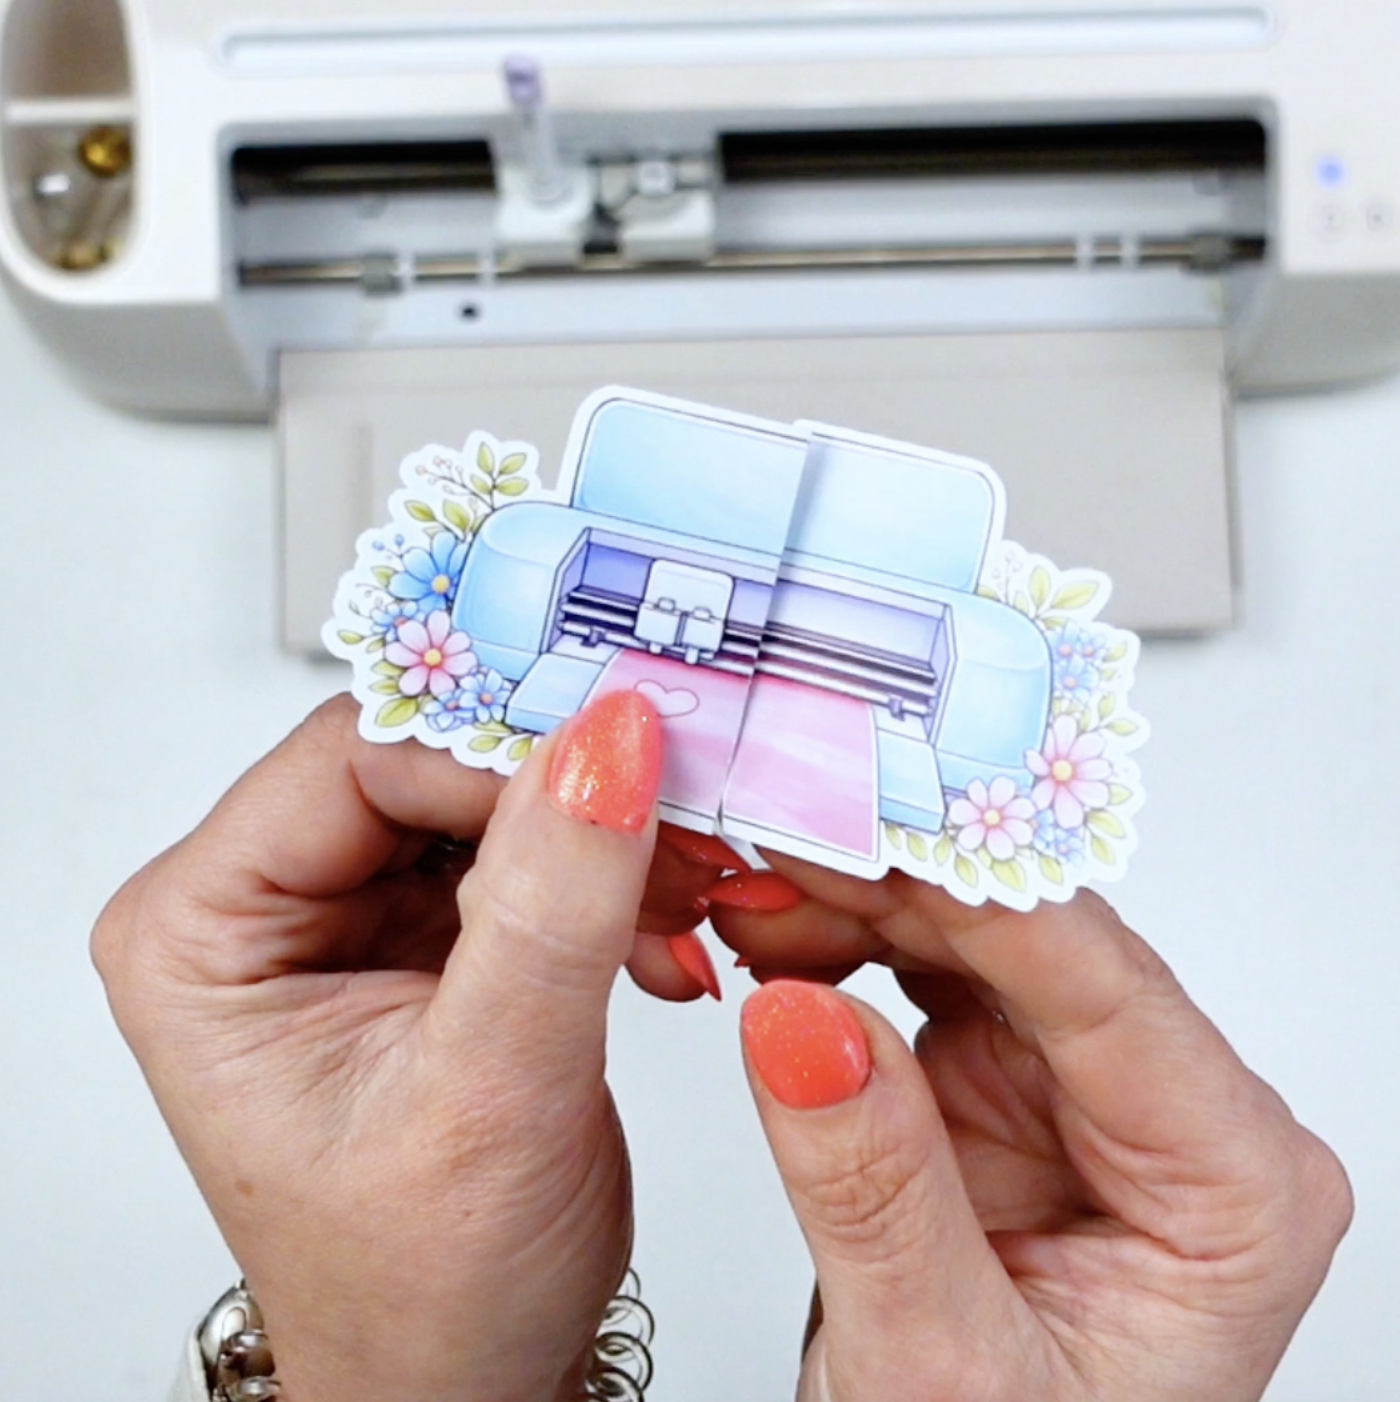
Cricut
Cricut Business Cards: Folded Card Step by Step Tutorial
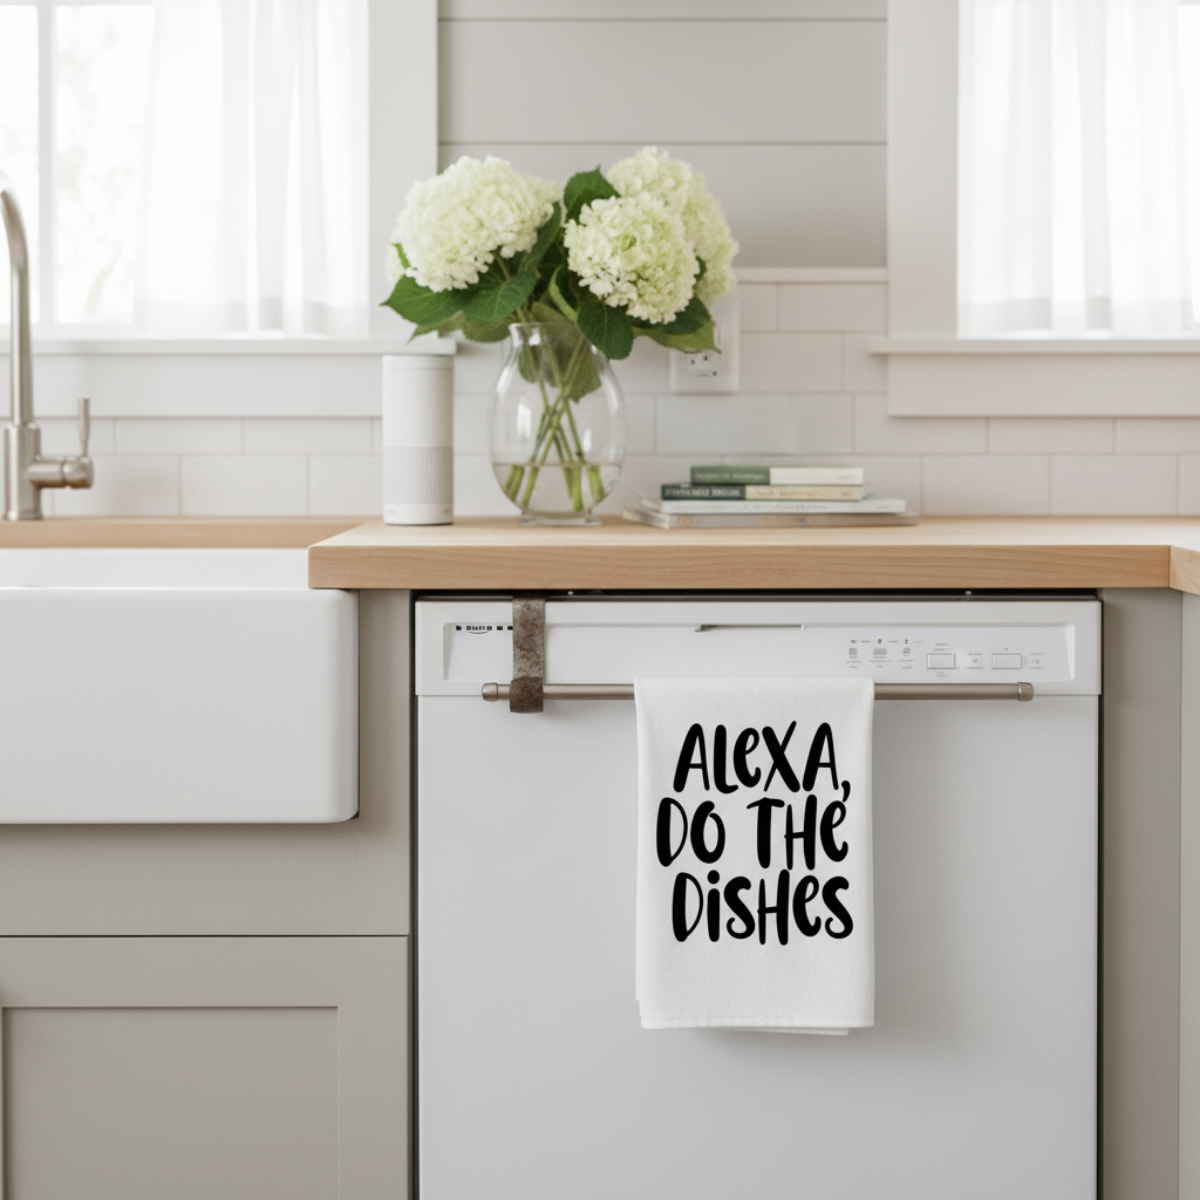
Free Home Decor SVG Bundle – 10 Free Downloads for Cricut
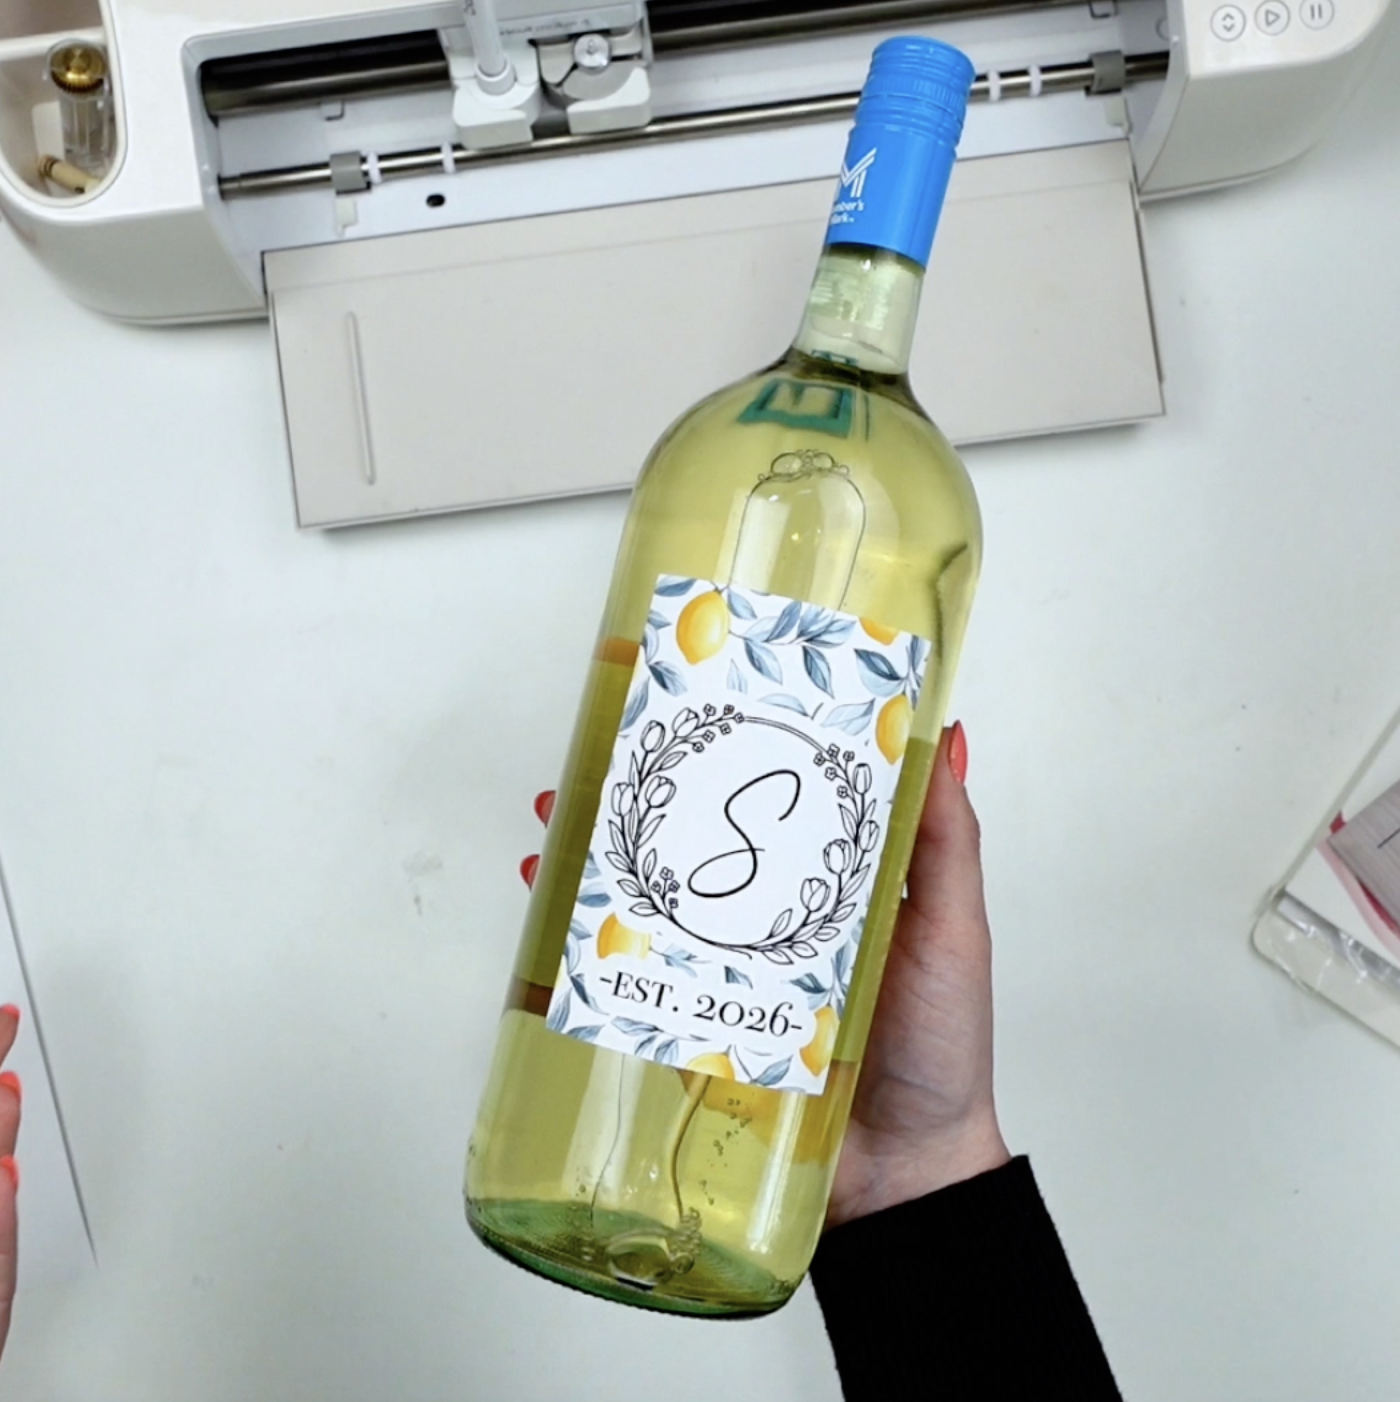
Cricut Wine Label Tutorial with Free Monogram Images
Cricut DTF Transfers Explained: An Honest Review & Tutorial
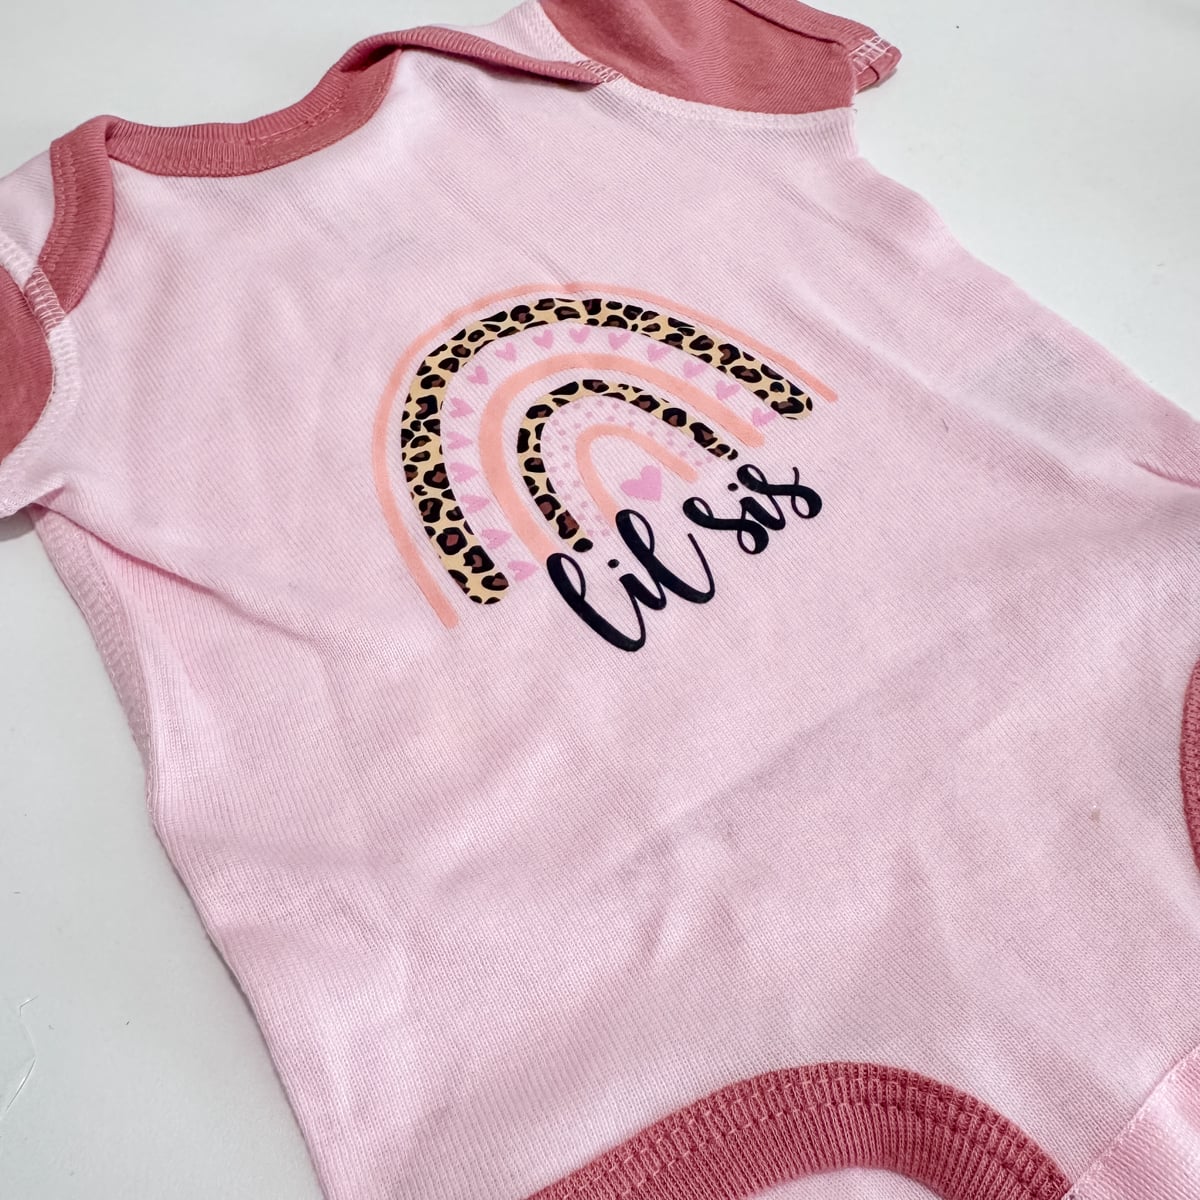
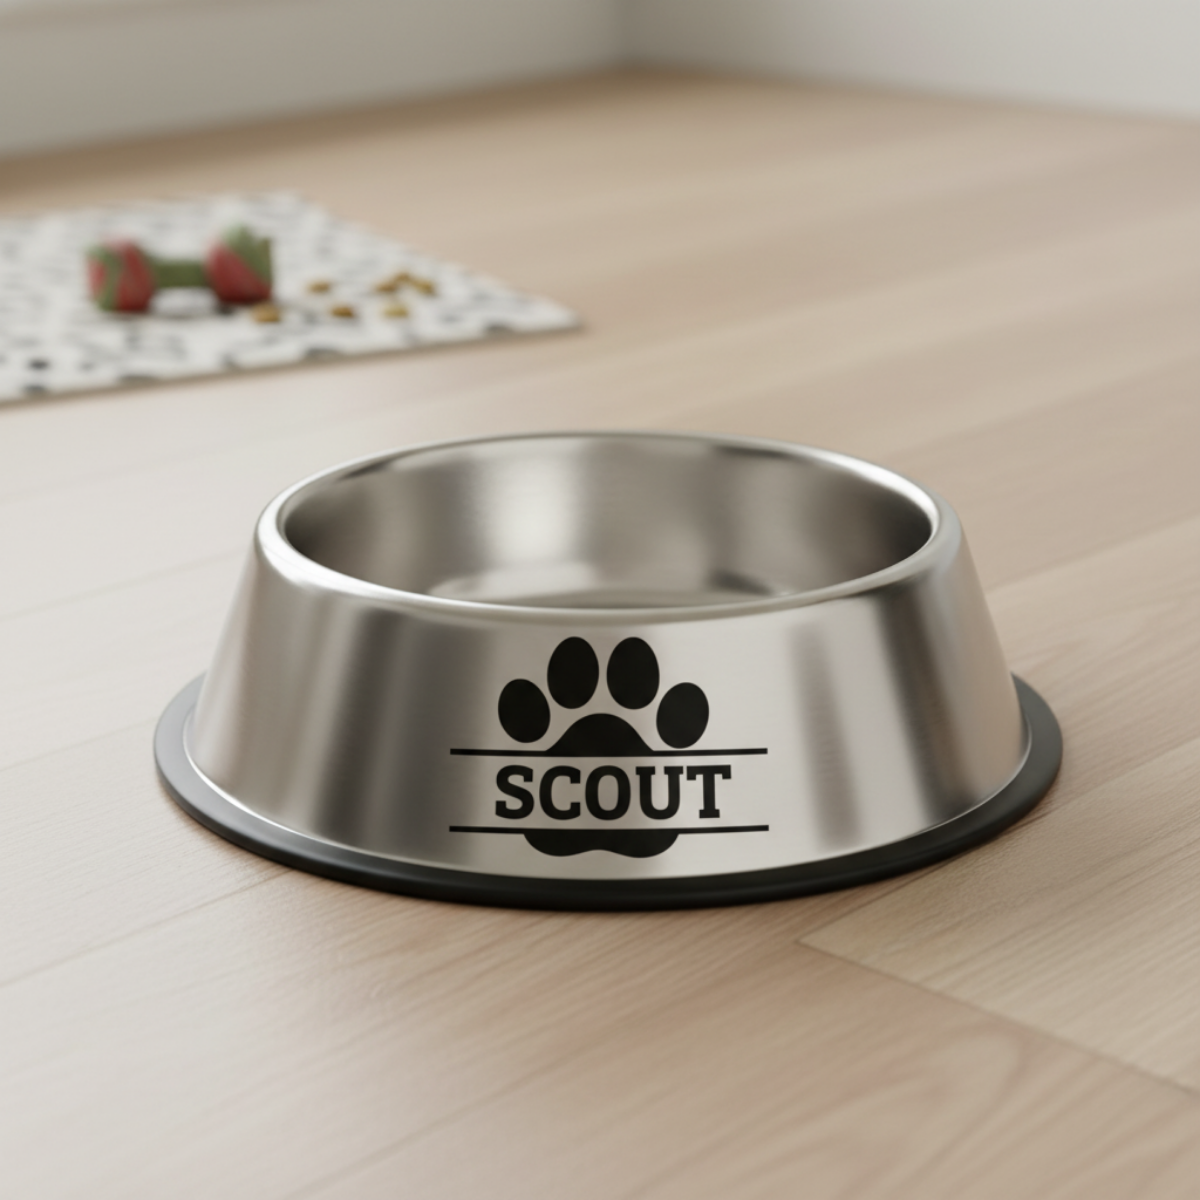
Free Pet SVG Files for Cricut | 25 Dog & Cat Designs
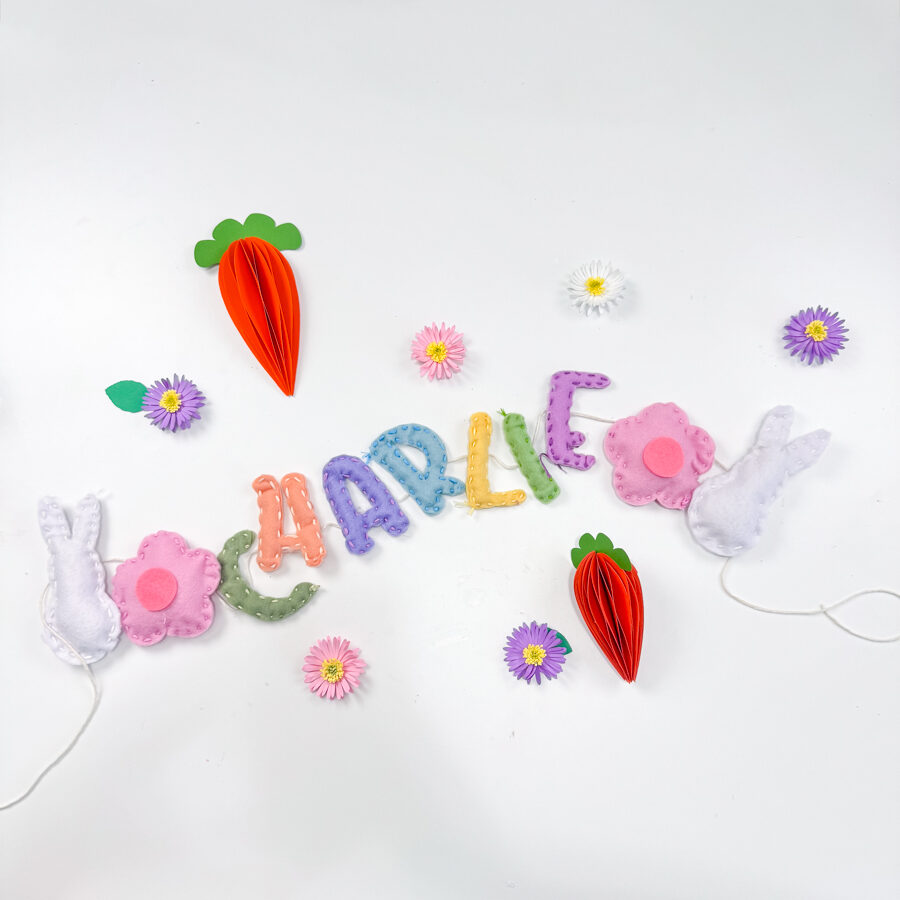
Cut Felt with Cricut: Make a Banner & Learn The Truth
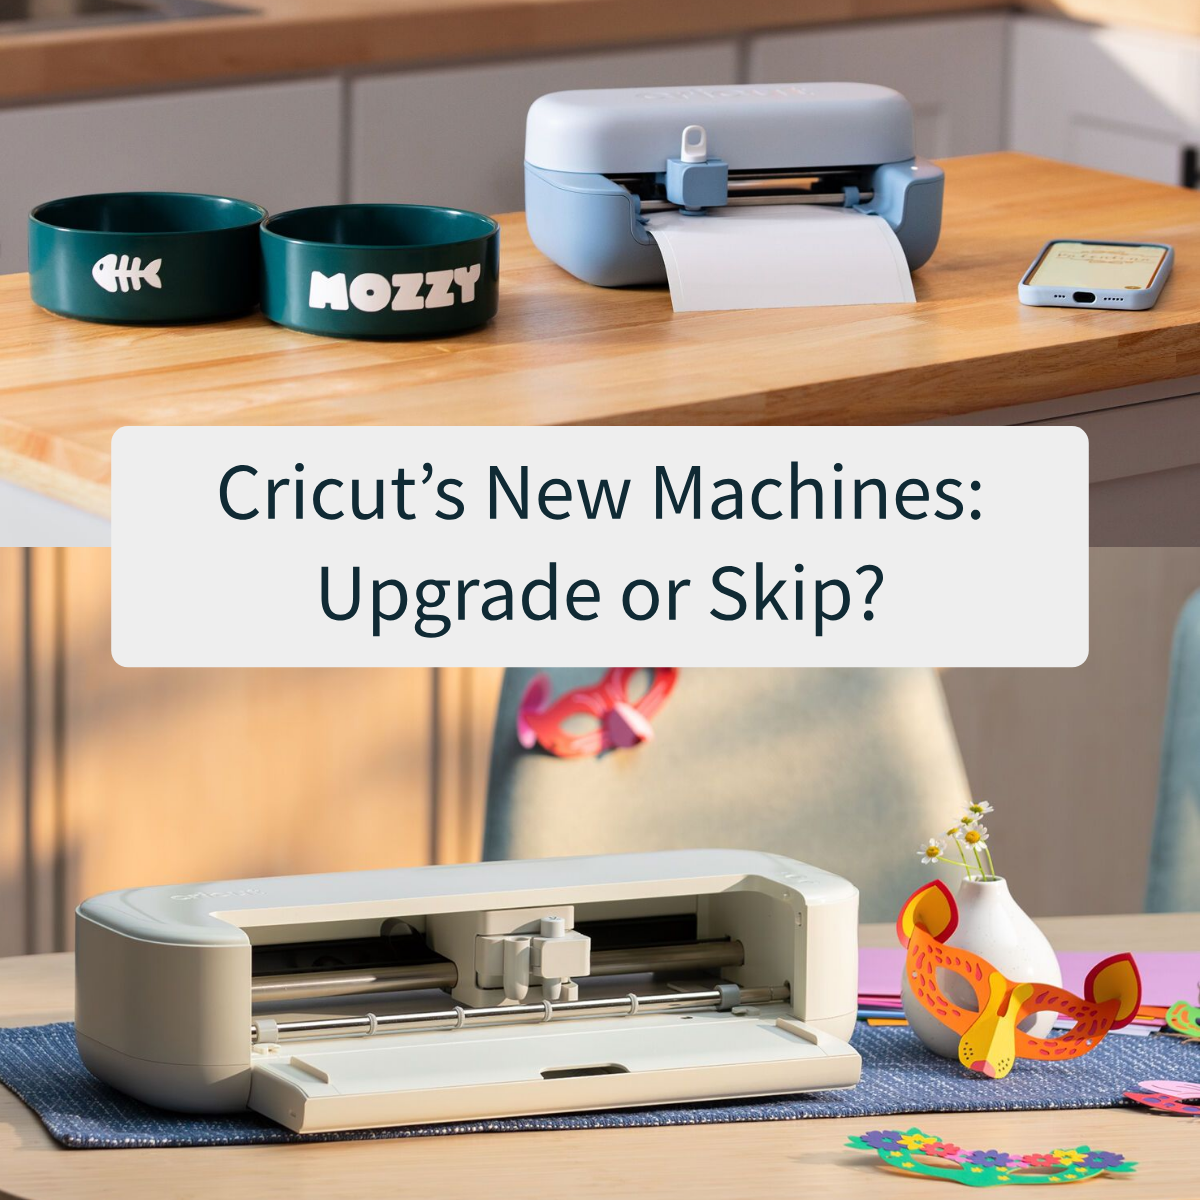
New Cricut Machines 2026 | All About the Joy 2 & Explore 5
Honeycomb Easter Eggs DIY with Free SVG Template Download
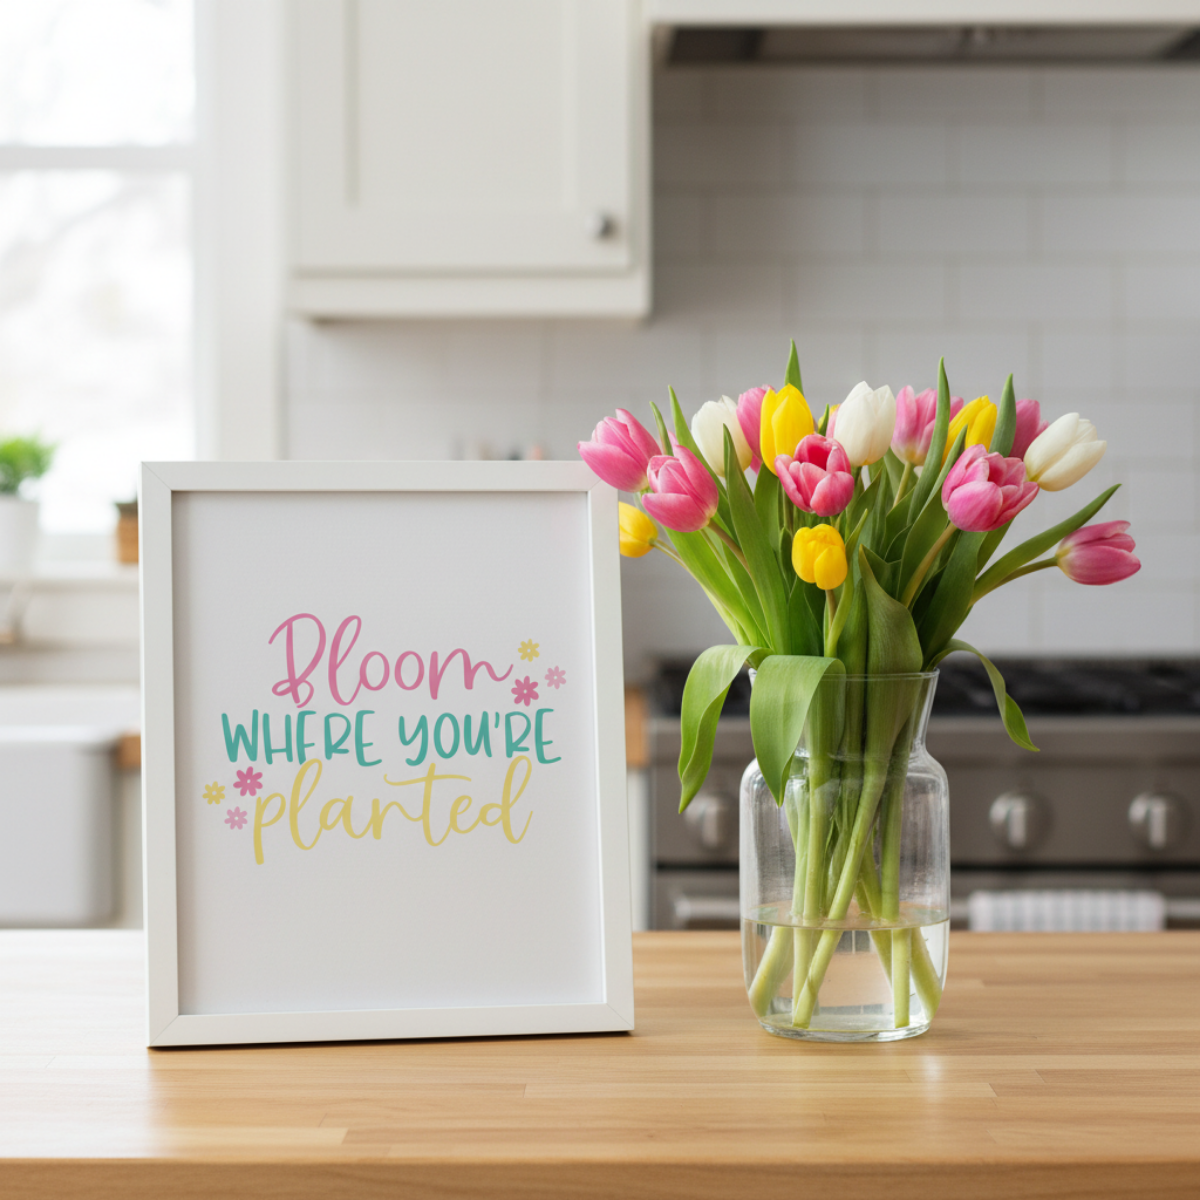
Spring SVG Free Bundle for Cricut & Silhouette Crafts
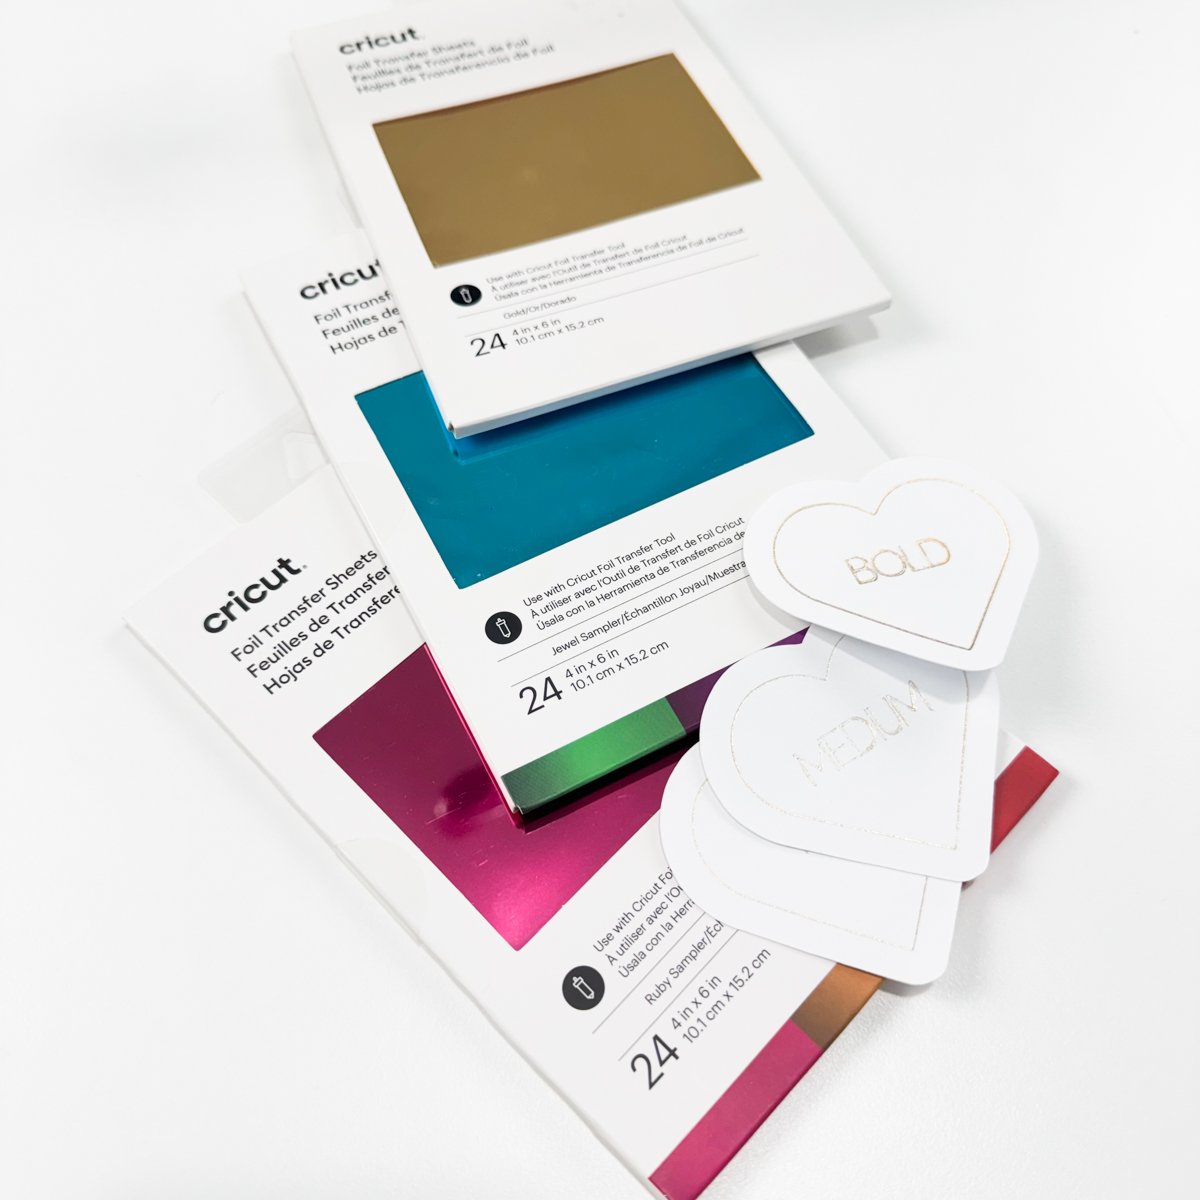
Cricut Foiling Tool: Is This Kit Worth It? A Truthful Guide
Gym SVG Free Downloads – 10 Workout Files for Cricut
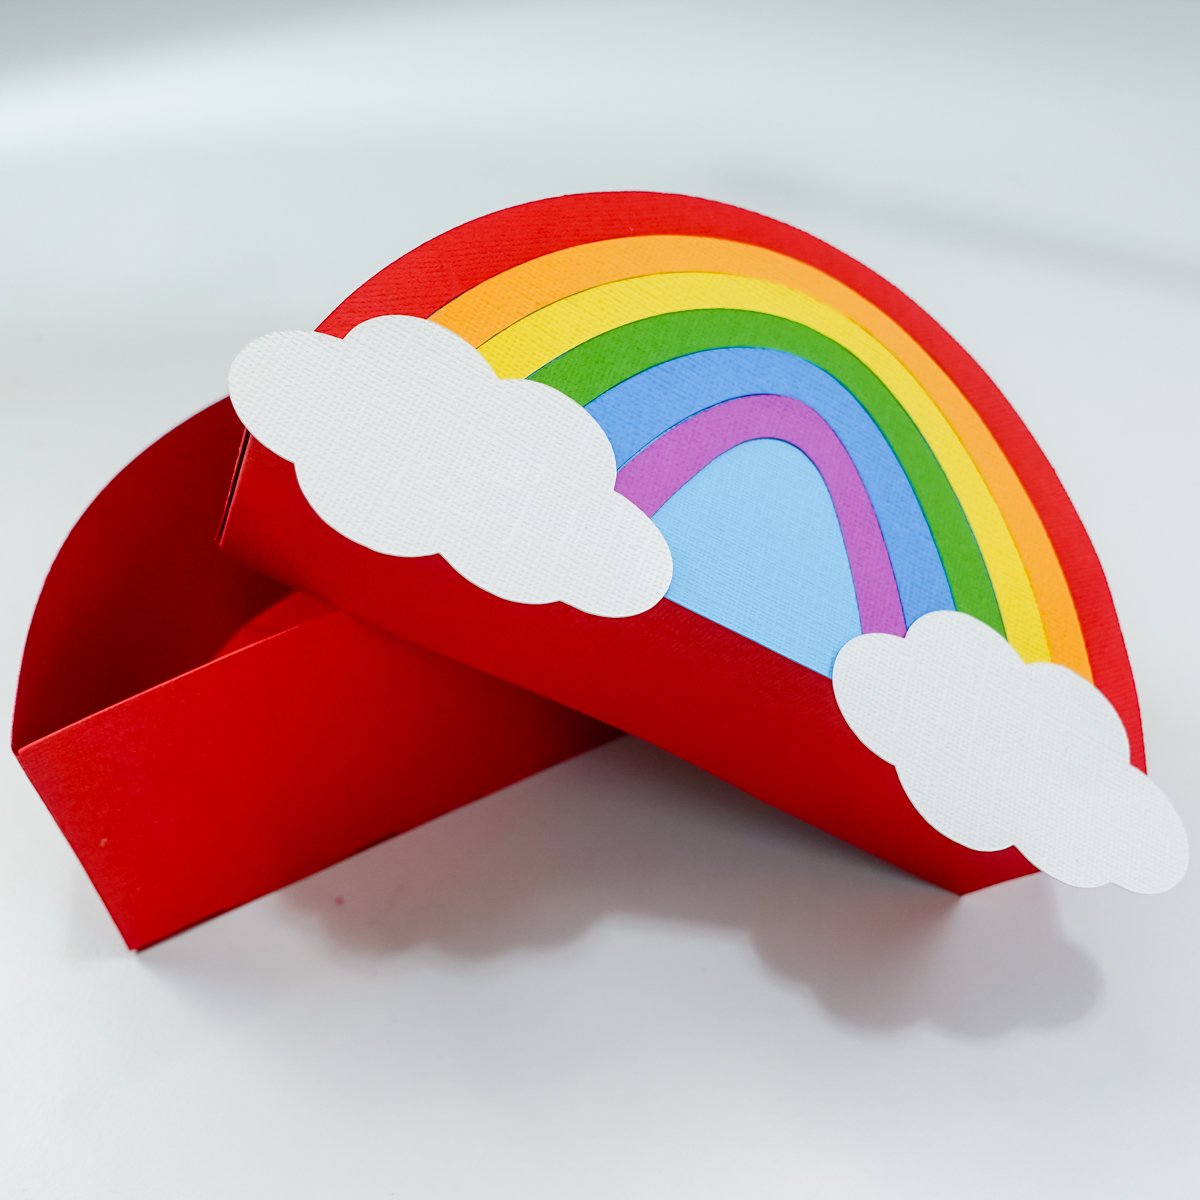
Rainbow Box SVG Free – Create a 3D Template with Cricut
Page navigation
1
2
3
…
12
Next Page
Next
Home
About Dinosaur Mama
Toggle child menu
Expand
About
Privacy Policy
Commercial Use Info
Blog
Toggle child menu
Expand
All Posts
My Favorite Crafts
Cricut Design Space
Paper Flowers
Free SVG Categories
Toggle child menu
Expand
Community Vault Free SVG Files
All Free SVG Links
How to Download Files